
Since its acquisition by Microsoft, Skype has been working tirelessly to make its call feature stand out from the competition in the market. In December last year, Microsoft announced Live Captions & Subtitles for Skype. The new feature was rolled out on a special occasion to commemorate the United Nations International Day of Persons with Disabilities.
Live captions & subtitles are optimized to be fast, continuous, and contextually updated as people speak.
With this feature, users can enable captions and subtitles for a single call or for every call as well as configure it to automatically scroll during the call and appear when people are talking.
Enable Subtitles for a specific call
Assuming you already have the app installed on your preferred device (if not, download it via your respective app stores or Skype’s official page).
Initiate the call or accept an incoming call and once the call connects, click the plus (+) button at the bottom right and select ‘Turn subtitles on’ from the menu. This will allow subtitles for that call only. If the call disconnects or you hang up and call again, you’re going to have to turn subtitles on again.

Enable Subtitles for all Skype calls
To enable Subtitles for all your Skype calls, open the Skype app and click the more options button (visible as 3 dots at the top right of the column on the left) and from the list of options displayed, select Settings from the menu.
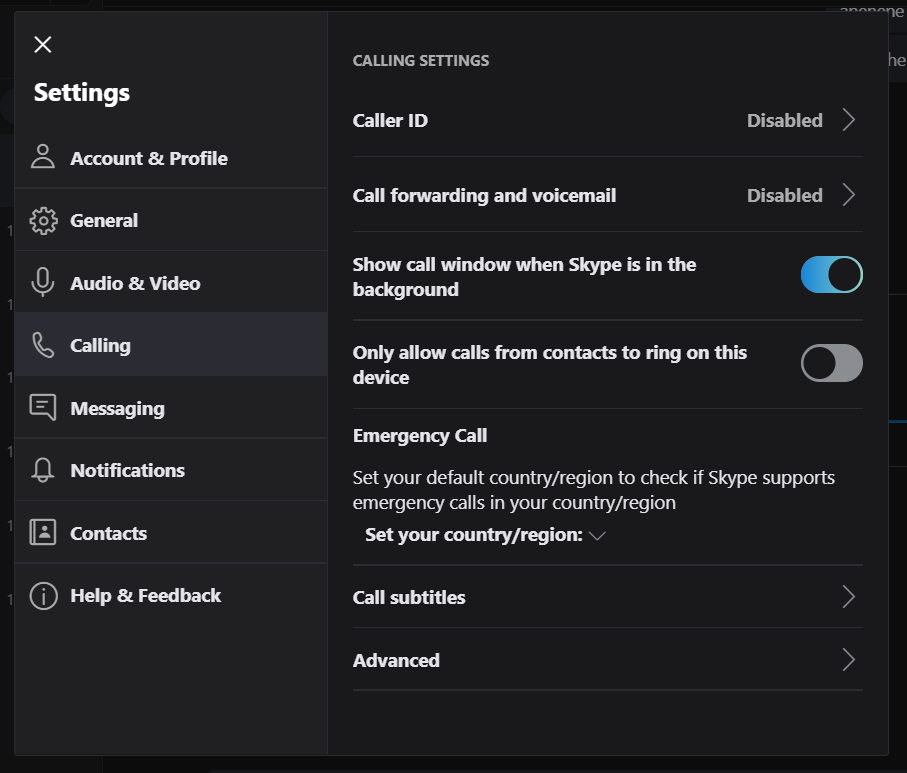
From the Settings window, navigate to the Calling tab, and select Call Subtitles. Turn on the ‘Show subtitles for all voice and video calls’ switch.
That’s it!
[related-posts]