A repeatable project-based learning method that helps young makers define a problem, predict, build, measure, explain, and improve.
The difference between a print and a STEM project
Printing a downloaded bridge demonstrates a machine. Asking which bridge structure carries the greatest controlled load for a similar amount of material creates an investigation. The model becomes useful when learners define a variable, make a prediction, collect evidence, and use that evidence to improve a second version.
This approach reflects the scientific and engineering practices described in A Framework for K-12 Science Education: asking questions and defining problems, developing models, planning investigations, analyzing data, designing solutions, and communicating from evidence.
Start with a question the print can answer
- Which beam profile bends least under the same controlled load?
- Which wheel diameter lets a car travel farthest from the same marked ramp position?
- Does a wider base reduce tower wobble when height stays constant?
- Which propeller design moves the most air at the same test distance?
- Which container wall pattern gives the best strength-to-material balance?
Avoid prompts whose only criterion is make something cool. Visual expression can remain part of the project, but the learner also needs an observable outcome such as bending, load, travel distance, stability, assembly time, or material use.
Define the fair-test rules before modeling
Agree on what will change and what must remain constant. For a bridge investigation, versions might share the same span, maximum height, material, print profile, orientation, support position, loading point, and approximate material target. Only the internal structure changes.
- Independent variable: the one design feature intentionally changed.
- Outcome measure: the result recorded with a unit.
- Controlled conditions: dimensions, material, print profile, setup, and test method held constant.
- Stopping rule: the safe point at which each trial ends.
- Repetition plan: the number of trials and how variation will be recorded.
Build and test a baseline first
The baseline should be simple enough to understand. For a bridge, two straight side beams connected by a deck can provide a reference before learners add ribs, arches, or trusses. Photograph the setup, record the file version, and note the material, orientation, and profile. Without a baseline, a stronger second design has nothing defensible to compare against.
Use a test rig instead of a hand-held demonstration
Place bridge ends on supports with the same gap, add washers at the same marked point, and increase the load in equal steps. Release cars from a marked ramp position rather than pushing them. Use a guide or spacer so towers experience the same disturbance. A simple jig made from books, tape, cardboard, or printed spacers can make the evidence much more repeatable.
Use lightweight, controlled loads; keep faces and hands away from stressed parts; stop before fragments can scatter; and inspect failure edges before handling. Adult or teacher supervision is essential around the printer and during any test that could produce sharp pieces.
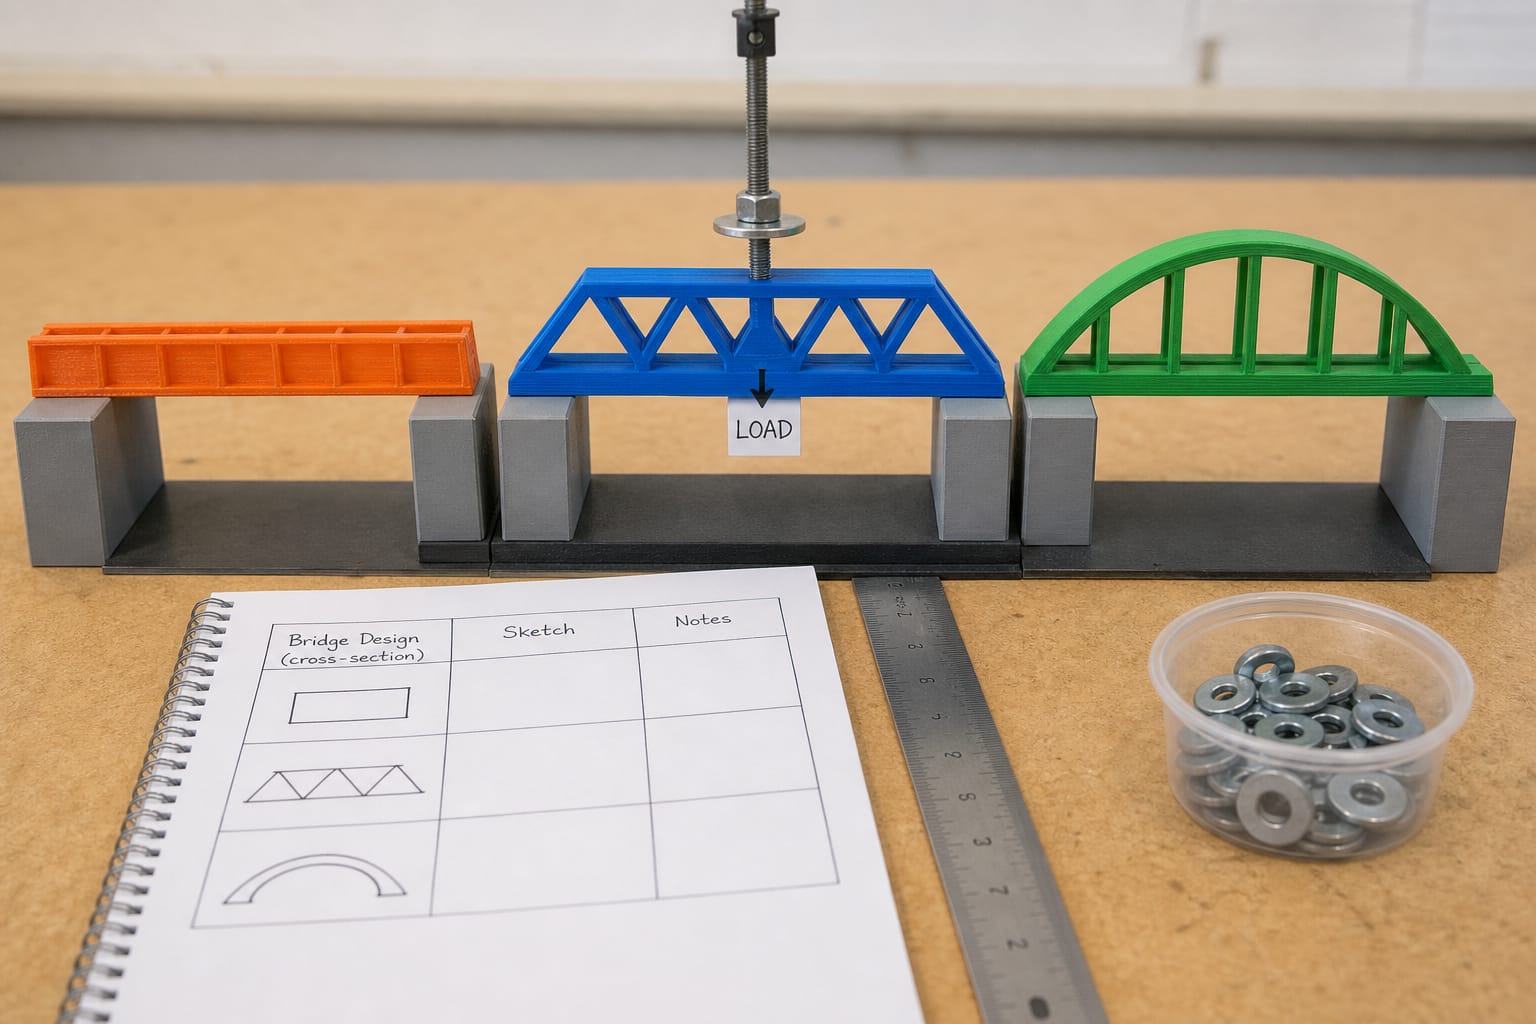
Illustrative bridge-test scene. The image demonstrates a repeatable setup but does not contain measured study results.
Record results without inventing certainty
Run at least three trials when practical. Record every result, including early slips or obvious setup mistakes, then state which trials were excluded and why. If results vary widely, investigate the method before declaring a winner. Do not replace measurements with words such as stronger or better.
Blank data table for a bridge investigation
| Version | One design change | Trial 1 | Trial 2 | Trial 3 | Observation |
| Baseline | None | ||||
| Version 2 | |||||
| Version 3 |
Complete the table with real measurements from the learner’s own setup. Keep units consistent and include photos of the support position and loading point so another learner could reproduce the method.
Change one variable in version two
Choose the most informative change, not the most dramatic redesign. Add diagonal bracing while keeping the bridge dimensions and material target; increase wheel diameter while keeping the axle and ramp; or widen a tower base while preserving its height. A controlled change makes cause and effect easier to explain.
Optimization can include more than maximum strength. Compare load-to-mass ratio, print time, assembly difficulty, stability, and appearance. If one bridge carries more load but uses twice the filament, the class can discuss whether it is the best engineering solution rather than treating one number as the whole answer.
Assess the explanation, not just the object
- ☐ The learner states the original question and prediction.
- ☐ The independent variable and controlled conditions are clear.
- ☐ Measurements include units and repeated trials.
- ☐ The learner identifies a limitation or possible source of error.
- ☐ Version two responds to evidence from the baseline.
- ☐ The learner proposes one focused next test.
Fit the cycle into five short sessions
- Define the question, fair-test rules, and prediction.
- Model and print a simple baseline.
- Build the test rig and collect baseline data.
- Change one variable and print version two.
- Repeat the test, compare evidence, and present a conclusion plus limitation.
Choose equipment for repeated investigation
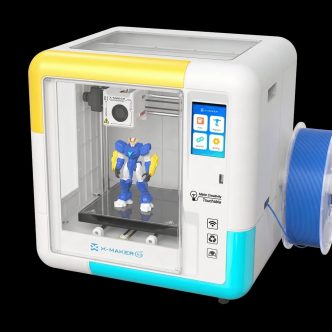
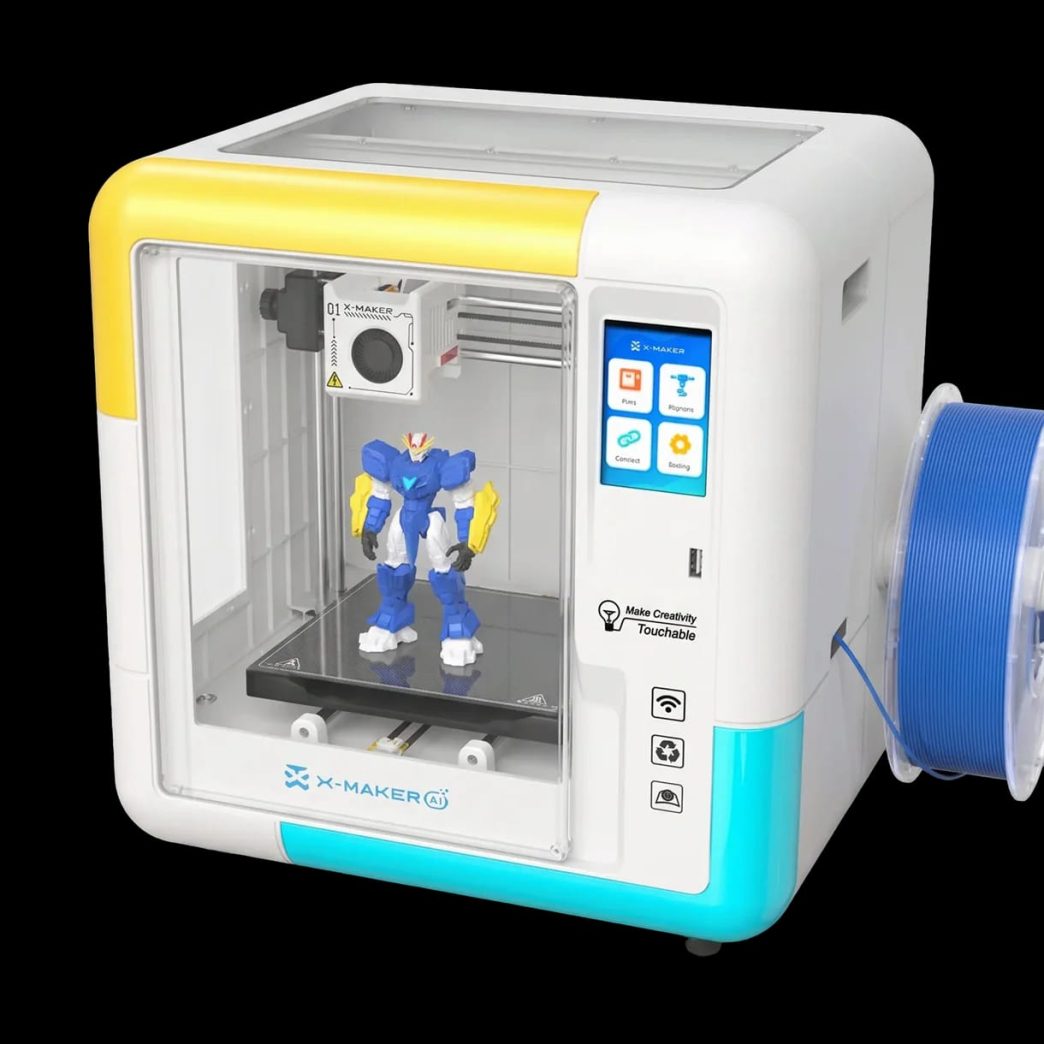
A system such as the enclosed 3D printer for kids can support repeated project work when its build area, materials, supervision requirements, and workflow match the investigation. Compare 3D printers for kids by whether learners can prepare another controlled version without rebuilding the entire setup—not by a single impressive demonstration.
Sources and further guidance
- National Academies: A Framework for K-12 Science Education
- NIOSH: Approaches to Safe 3D Printing
Frequently asked questions
What makes 3D printing a STEM project rather than just a craft?
A print becomes a STEM project when the learner uses it to answer a testable question. The project should include a prediction, one intentional design change, controlled conditions, measurements, and an evidence-based revision. The finished object matters, but the reasoning that connects version one to version two matters more.
What is a good first 3D printing STEM project for children?
Start with a small object that can be tested quickly, such as a short bridge, a wheel-and-axle car, a simple tower, or a container with different wall patterns. Choose one measurable outcome—load, travel distance, stability, mass, or print time—and keep the first model simple enough that the child can explain every feature.
How do you keep a 3D printing experiment fair?
Change only one design variable at a time and keep the material, print profile, orientation, dimensions, test setup, loading point, and measurement method consistent. Document any condition that cannot be held constant. A fair test does not eliminate all variation; it makes the remaining variation visible and discussable.
How many trials should students run before drawing a conclusion?
Three trials per version is a practical minimum for many home or classroom projects. Repeated trials reveal slips, inconsistent setups, and natural variation that a single result can hide. If the measurements differ widely, improve the test rig or method before claiming that one design is better.
What should students measure in a 3D printing STEM project?
Measure the outcome connected to the question, then add context that helps judge the design as an engineering solution. Useful measures include maximum load, deflection, travel distance, wobble, mass, filament use, print time, assembly time, and failure location. Record units, observations, photos, and file versions so the test can be repeated.