Search for video editing software, and Filmora video editor appears in almost every list, usually without much explanation of what it actually does. Product pages lead with feature counts, while reviews tend to assume the reader already understands the basics.
This guide takes the opposite approach, covering what the software is, how editing works inside it, and which tasks it genuinely handles well. Moreover, it identifies the kinds of users Filmora was built to serve.
Part 1. What Is Wondershare Filmora?
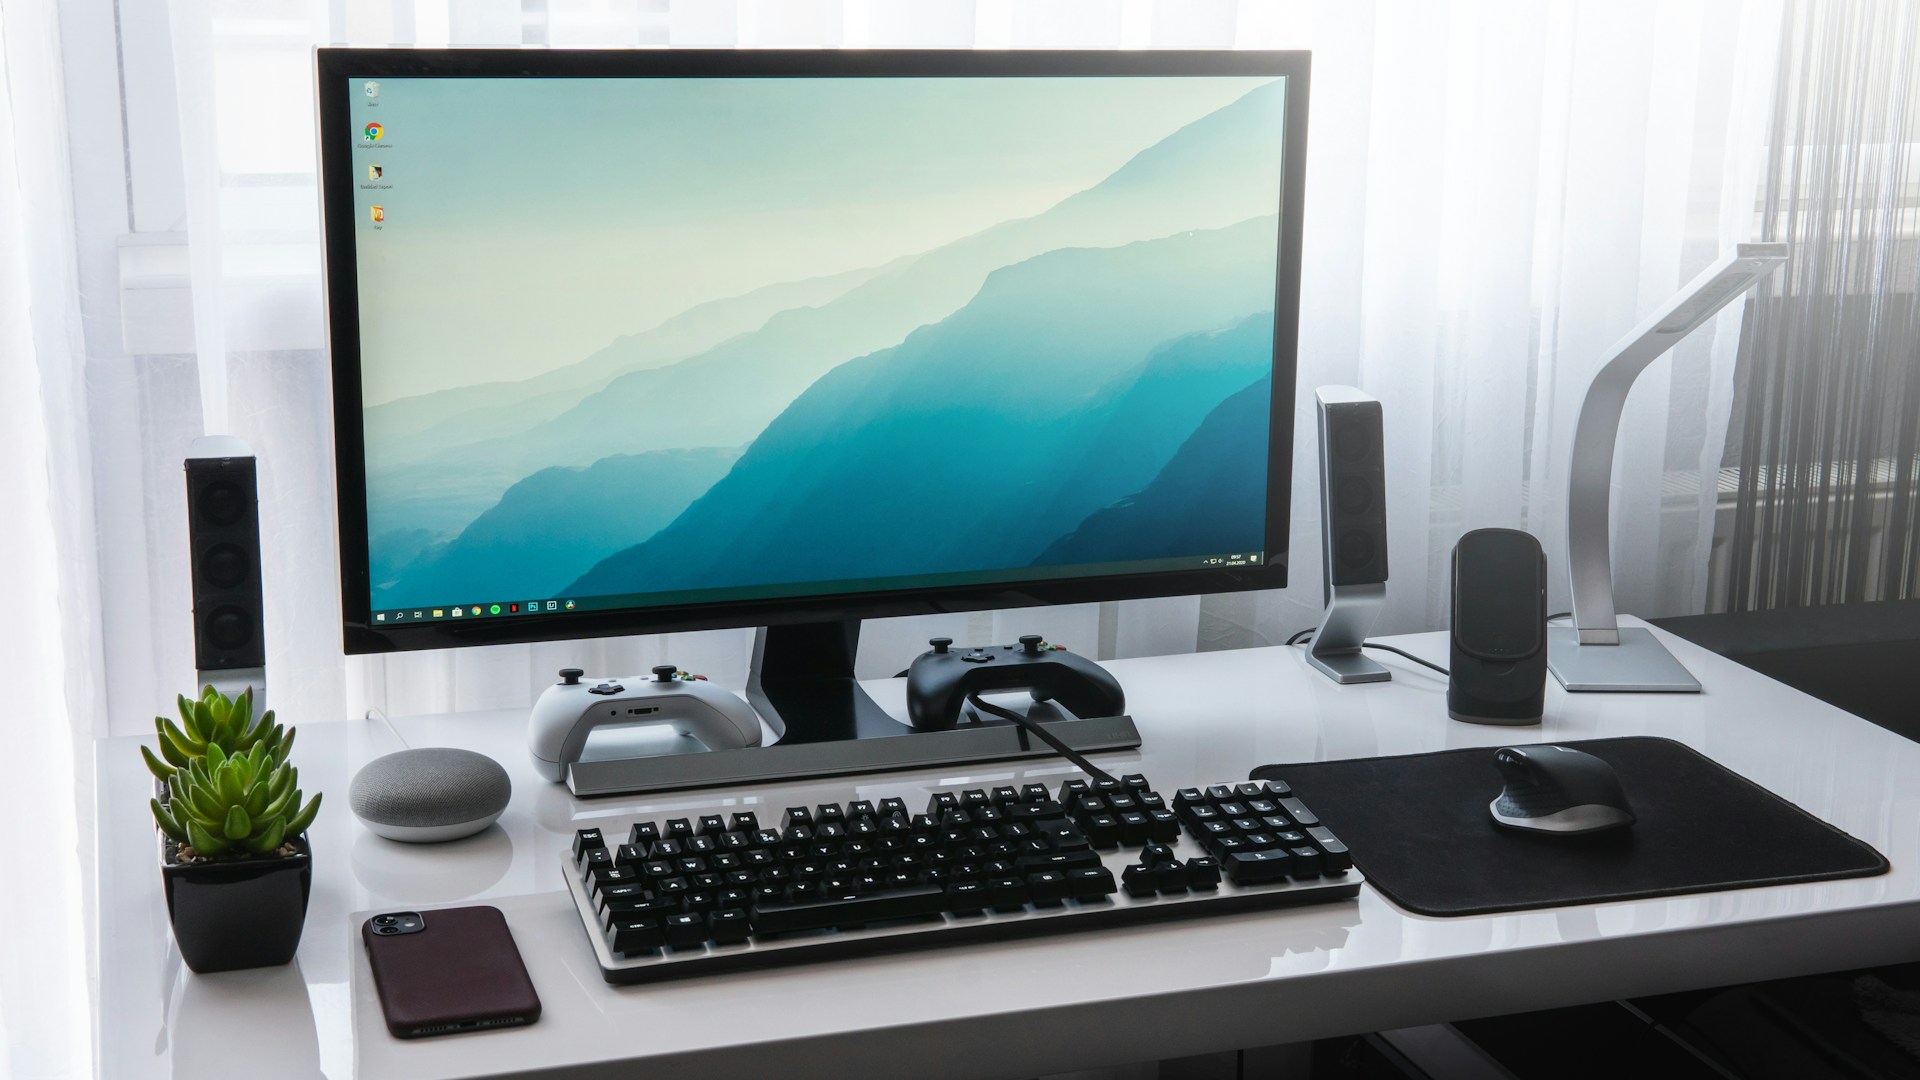
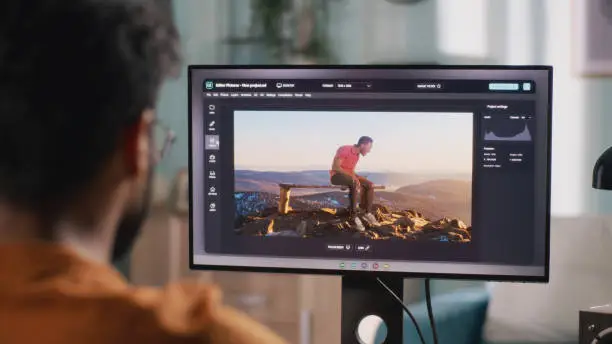
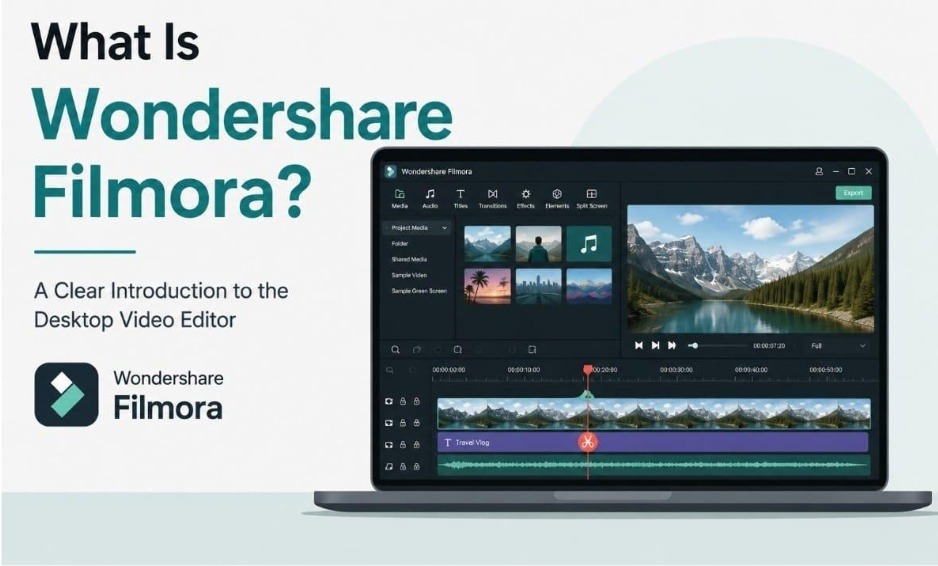
Filmora is built for creating and editing videos on Windows and macOS. A project can include footage, images, music and visual effects, all managed within the desktop application. AI powered features are integrated into the editing workflow rather than offered as separate tools. Rather than presenting dozens of controls at once, Filmora keeps the workspace straightforward.
Your media, preview window, and editing options each have their own place, so finding a tool rarely takes long. Effects, titles, audio tools, templates, and AI features all work from the same interface instead of separate applications. Filmora 15 is the latest version and can be downloaded for free to try. The only limitation is that videos exported from the free edition include a watermark until a license is purchased.
Part 2. How Video Editing Works in Filmora
The layout only becomes meaningful once footage starts moving through it. From raw material to a finished file, the route follows the same shape in almost every project. The 5 steps below outline that route without stepping into full tutorial detail.
Step 1. Create a New Project
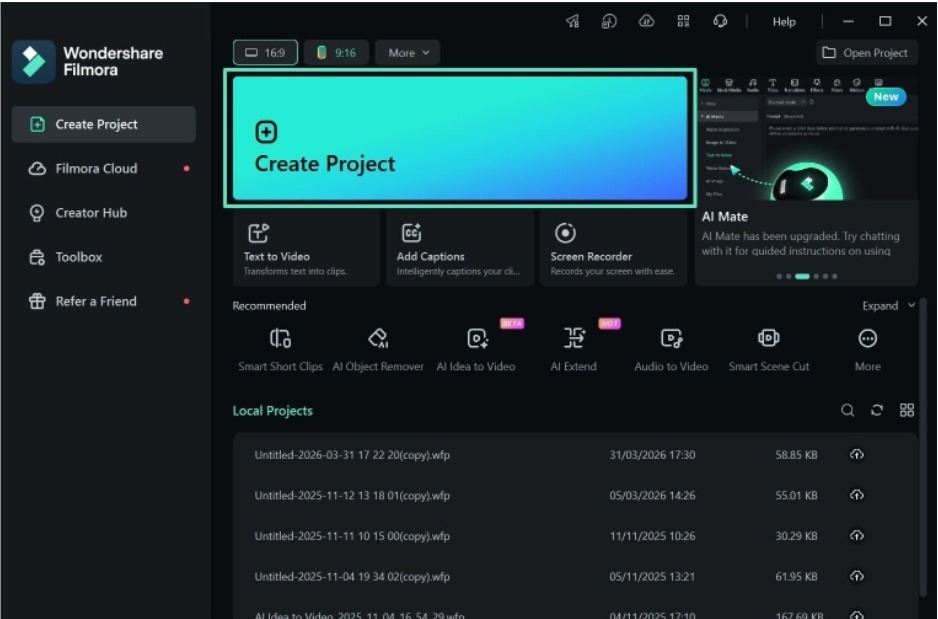
Filmora opens on a start screen and selecting “Create Project” builds an empty workspace ready to receive media. The default aspect ratio can be changed later from within the editing interface.
Step 2. Import Your Media Files
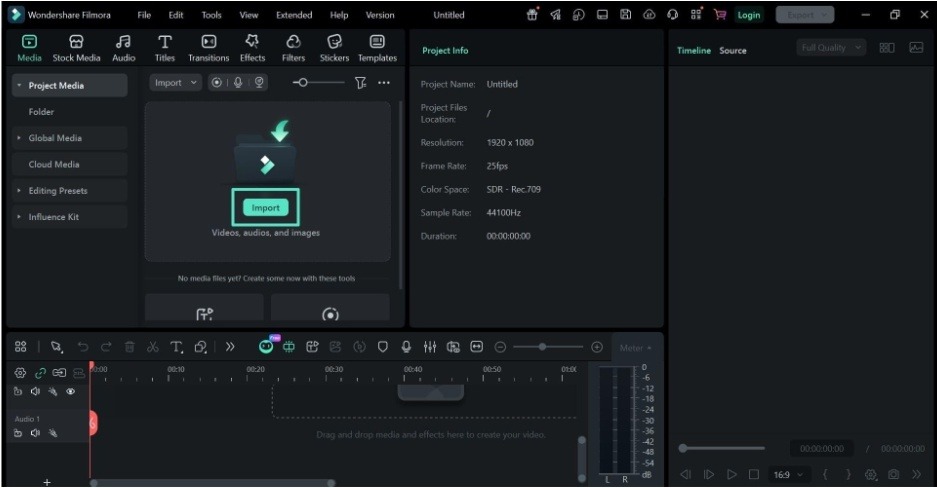
Video, images, and audio enter the media panel through the “Import” option or by dragging files in directly. Any of them can then be placed onto the timeline in the order the edit requires.
Step 3. Edit the Clips on the Timeline
Place your media on the “Timeline,” then trim, split, and reorder clips to build your video. Add overlays, extra footage, or audio on separate tracks while keeping the main sequence intact.
Step 4. Add Text, Sound, and Effects
Open the “Titles,” “Transitions,” “Effects,” or “Audio” tabs to add captions, music, voiceovers, filters, and other creative elements. Adjust or remove any item later without changing the clips already placed on the “Timeline.”
Step 5. Preview and Export the Video
The preview window confirms how the sequence plays before anything is rendered. Selecting “Export” then writes the project to a single file in the chosen format and resolution.
Part 3. What Can You Do with Filmora?
The 5-step workflow shows how a project comes together. However, Wondershare Filmora offers the following editing features that transform raw footage into a polished video:
- Trim and Arrange Clips: Long recordings become shorter, scenes can be reordered, and slow or fast motion is only a few clicks away.
- Add Text and Visual Effects: Opening titles, subtitles, transitions, filters, and overlays help videos look more polished without much setup.
- Edit Dialogue and Music: Background music, voice recordings, and sound effects can each be adjusted separately for a cleaner mix. Projects recorded with multiple devices can also benefit from the Filmora audio synchronizer to automatically match sound with video.
- Adjust Color and Motion: Brightness, framing, stabilization, and animation controls help improve the appearance of individual clips.
- Use AI Editing Tools: Automatic captions, AI translation, AI Smart Cutout, Image-to-Video and Text-to-Video AI generation reduce repetitive work.
- Export Your Finished Video: When the edit is complete, choose a standard format or a preset for YouTube, TikTok, Instagram, or Facebook.
Part 4. Does Filmora Support More Advanced Editing?
Each of those groups has a deeper layer beneath it, which is why filing Filmora as a beginner tool undersells the software. The advanced panels share the interface language of the basic ones, so moving up does not require relearning anything. The table below sets out where that additional control sits:
| Tool | What It Controls | Typical Use |
|---|---|---|
| Keyframes | Position, scale, rotation, opacity, and effect values over time | Animated titles and gradual reveals |
| Masking | Shapes drawn over part of the frame, so an effect applies there only | Selective color and composites |
| Motion Tracking | Attaching an element to a moving object in the shot | Callouts, blurs, and logos on moving surfaces |
| Multi-Track Editing | Stacked video and audio layers in a single timeline | Picture-in-picture and multi-camera cuts |
| Compound Clips | A group of clips collapsed into one editable unit | Keeping long timelines manageable |
| Color Tools | Color wheels, HSL controls, LUTs, and professional color correction tools | Matching shots and setting a look |
| Audio Controls | Ducking, normalization, gain, and equalization across tracks | Holding music under dialogue |
Part 5. How Does AI Fit into Filmora?
Everything covered so far depends on manual editing. Filmora‘s AI features focus on speeding up specific tasks instead of replacing the editing process, and the comparison below highlights that difference:
| Handled by Filmora’s AI | Decided by the Editor |
| Transcribing speech into captions and subtitles | Which take makes the final cut |
| Translating spoken dialogue into other languages | Where each cut lands in the sequence |
| Removing unwanted objects with AI Smart Cutout or AI Object Remover | How long a scene is allowed to run |
| Cutting long recordings into short vertical clips | The pacing and rhythm of the edit |
| Generating video from a text prompt or a still image with AI | The visual style the project is aiming for |
Some editing tasks, including waveform-based audio matching, can be completed automatically. Readers who want a step-by-step walkthrough can refer to the Filmora Auto Synchronization guide.
Part 6. Who Is Filmora Designed For?
That division between automated and manual work explains why Filmora 15 appeals to such different groups of people. The audiences below are the ones it fits most closely:
- Content Creators: Vertical presets, automatic captions, and fast export match the pace of YouTube, TikTok, and Instagram.
- Educators: Screen recording, a built-in teleprompter, and clear titling suit lessons, walkthroughs, and recorded lectures.
- Marketers: Templates, stock assets, and repeatable color settings keep campaign turnaround short across multiple deliverables.
- Small Businesses: Product clips and promotional videos can be produced in-house without hiring an external editor.
- Freelancers: A single license covers varied client work across different formats and delivery specifications.
- Aspiring Professionals: Keyframes, masks, and scopes teach concepts that carry directly into professional editing software.
- AI Content Creators: Text-to-video and image-to-video generation feed straight into the same timeline as filmed footage.
Conclusion
Filmora earns its position by covering the whole span of video editing rather than one end. A first-time editor can assemble a watchable clip on the day it is installed. The same Wondershare video editor still has room once keyframes, masks, and grading join the routine. That combination makes it a sensible starting point for anyone weighing a desktop editor that grows with the work.