A rejected screenshot set is a strange way to lose a launch night. The Play Console preview panel does not care how moody an app’s dark-mode hero shot looks; it flags whatever is hard to read at thumbnail size, and for a one-person Android shop that warning lands the night before submission, not during a calm design sprint. Cleaning up five raw device captures with an AI Photo Editor sounded like a shortcut, but the real question was narrower: would clarity survive the export, or would the tool just make the screenshots look more cinematic while the button text stayed just as soft?
The two settings that actually mattered here were narrower than the marketing copy on any editor’s homepage: the Enhance Photo quick tool, priced at roughly 15 credits a pass, and a Resolution choice between 1K and 2K. Five phone screenshots, one warning strip, and a submission deadline made for a decent test of whether legibility, not style, is what a store listing actually needs before anyone taps install.
Store Listings Reward Legible Screens Over Style
Most store-screenshot advice talks about mood: gradients, device frames, a hero shot that looks like a film still. None of that matters if a shopper scrolling past on a five-inch screen cannot read the one line of text that explains what the app does. Play Console’s own preview renders screenshots at roughly the size a real listing page shows them, and at that size, thin fonts and low-contrast overlays disappear before style ever gets judged.
That is a legibility problem, not a taste problem, and it is the one an app publisher without a design budget can actually fix. The editor was not being asked to make the screenshots prettier. It was being asked to make five phone captures readable at thumbnail size without redesigning the underlying UI, which is a much smaller and more testable job than making it look cinematic.
Enhance Photo Cleans Up Screenshots Before Submission
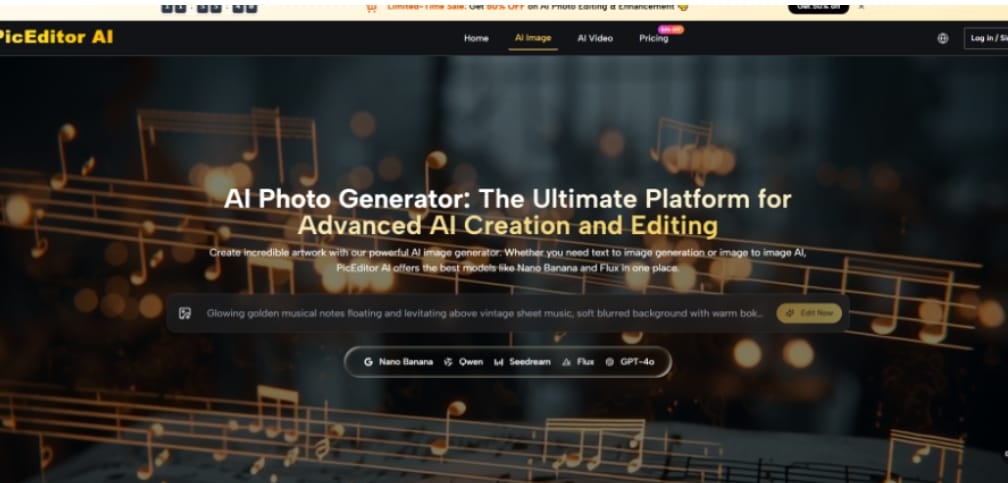
On the PicEditor AI homepage, Enhance Photo sits as a quick tool next to Remove Background, Erase Object, Upscale Image, Change Background, and Restyle Photo, a one-click pass rather than a prompt box. For raw phone screenshots that is the right shape: no prompt to get right, just an upload and a resolution choice before Generate Image.
Credit Cost Adds Up Across Five Screenshots
Enhance Photo runs about ~15 credits each pass, and five passes pushed the credit total past 70 before the batch cleared Required Credits and landed in My Images. That number does not sound large in isolation, but it is enough to notice once screenshot cleanup turns into a recurring pre-launch habit instead of a one-time fix. Budgeting a rough credit total before starting a batch beats discovering the cost screenshot by screenshot.
Resolution Choice Changes What Reviewers Actually See
Resolution only offered two options that made sense for a phone screenshot: 1K or 2K. The 1K pass looked fine on a laptop preview, but at thumbnail size on an actual device, the call-to-action button text had softened just enough that a shopper skimming the store page could not read it without zooming in. The 2K pass held the same button text sharp at the same thumbnail size, which mattered more than any color grading the tool applied.
A Five Screenshot Batch Meets The Warning Strip
Running all five screenshots through an AI Photo Edit pass on the same settings, Enhance Photo, 2K, one image at a time, turned the test into something closer to a checklist than a design review. Each screenshot went in as a raw capture straight from the device and came out through My Images, ready to sit next to the other four in the Play Console upload slot.
Four Screenshots Cleared The Preview On First Try
In my testing, 4 of 5 screenshots passed the preview panel on the first upload: the two feature screens, the onboarding shot, and the settings screen, all of which had reasonably high native contrast to begin with. Enhance Photo sharpened text edges and evened out uneven phone-camera lighting without inventing detail that was not there, which is the quiet, boring outcome a launch actually wants from a cleanup pass.
One Screenshot Still Tripped The Same Warning
The dark-mode hero shot was the outlier. Even after Enhance Photo, the small settings icon in the corner had lost enough edge definition that the warning strip flagged it a second time. I deleted that first export and ran a second pass at 2K with a tighter source crop instead of trusting the same file twice, and the second attempt cleared the check. The lesson was not that PicEditor AI had failed; it was that a genuinely low-contrast source image needs a better crop before enhancement, not just a higher resolution setting.
Reading The Warning Strip Before Resubmitting Screenshots
Once the pattern across five screenshots was visible, it stopped feeling random. The table below groups what each screenshot needed against the fix that actually cleared it, which is more useful before a resubmission than a general note to make it look better.
| Screenshot | Warning on first pass | Fix applied | Passes needed |
| Feature screen A | None | Enhance Photo, 2K | 1 |
| Feature screen B | None | Enhance Photo, 2K | 1 |
| Onboarding screen | Minor contrast note | Enhance Photo, 2K | 1 |
| Settings screen | None | Enhance Photo, 2K | 1 |
| Dark-mode hero | Low-contrast icon | Enhance Photo, tighter crop | 2 |
Sorting Fixes By How Much Contrast Existed
Every screenshot that cleared on the first try shared one thing: enough native contrast that Enhance Photo only needed to sharpen, not rebuild, the text edges. The one that needed a second pass was the one where the source crop buried a small icon in a dark corner before the tool ever touched it. That is worth checking before generating anything; a bad crop is a five-second fix, while a second Enhance Photo pass costs another set of credits for the same photo.
Keep Store Screenshots Readable Before Any Style Pass
None of this required redesigning the app or hiring anyone. It required treating the store screenshot as a legibility test first and a style exercise second, then choosing settings, Resolution mainly, based on what a warning strip and a real device screen actually showed, not on what looked good in a laptop preview.
PicEditor AI did not turn five raw captures into cinematic hero shots, and that was fine; cinematic was never the assignment. What mattered was that four of five cleared on the first Enhance Photo pass, the fifth cleared after a better crop on the second attempt, and every button label was readable at the size a shopper actually sees it. For a solo Android publisher without a design team, that is the entire job: pass the check, then move on to the next release.